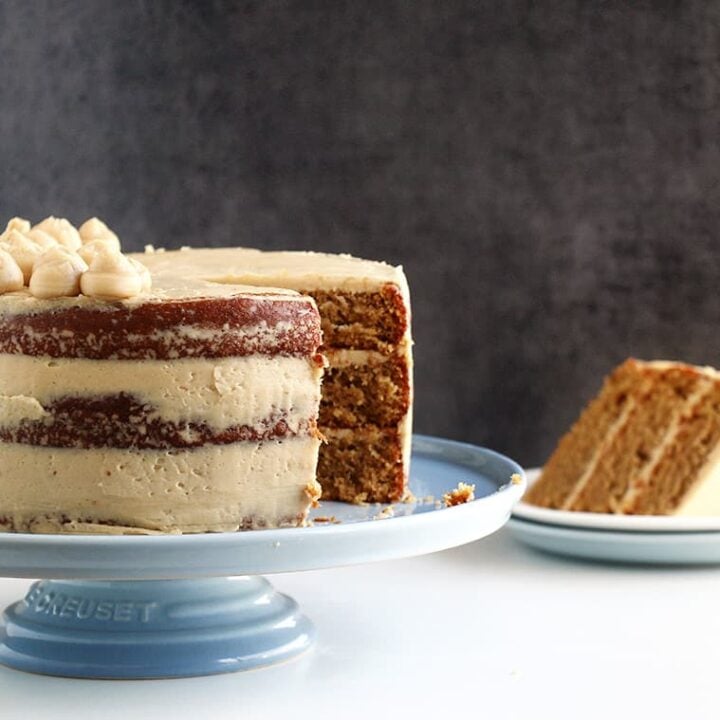
A Moist Layered Coffee Cake recipe that is easy to make and has a delicious, rich espresso flavor. A three-layered naked coffee cake topped with a creamy coffee Italian meringue buttercream.

Why you will love this moist coffee layer cake recipe
I love baking with coffee and this layered cake showcases how delicious the flavor of coffee in baking can be. Like my Coffee Chocolate Brownies, this cake is a real crowd-pleaser. Not only is it beautiful to present, but the cake has a light, moist texture and the coffee frosting is soft and creamy.
If you are looking for an impressive but easy cake to make then this is the recipe for you! It is a simple but stunning cake that is perfect for any celebration. This moist layered cake is made with two shots of espresso and celebrates the yummy flavor of coffee beautifully.

How Do You Make A Layered Coffee Cake From Scratch?
You can't beat homemade coffee cake! And this flavourful, moist coffee sponge cake is so easy to make so there's no excuse not to. To make it, all you have to do is:
- Prepare. Preheat your oven to 180ºC/350ºF and line three 8-inch cake tins with baking paper.
- Cream. In a large mixing bowl, use an electric mixer to cream the oil, sugar, and vanilla together until light and fluffy, about 3 minutes.
- Add the eggs. Once light and fluffy, add the eggs and egg yolk and continue to beat the mixture for a few minutes.
- Prepare dry ingredients. Then in a separate bowl, sift together the remaining dry ingredients.
- Combine. Add these dry ingredients to the egg mixture, alternating with the milk. Mix until just combined. You don't want to overmix this batter!
- Add the espresso. Add the warm espresso shots to the mixture and mix until just combined.
- Bake. Divide the batter between the 3 prepared cake tins and bake for 25 minutes.
- Cool. Remove the cakes from the oven and allow to cool for 5 minutes before removing from the tin and allow to reach room temperature before frosting.

How To Store Coffee Cake?
This moist coffee cake can be stored in an airtight container in a fridge for 4 - 5 days. Allow the cake to reach room temperature before eating because it will have a better flavor at room temperature and the buttercream will be a perfect consistency.
This cake is suitable for freezing, frosted or unfrosted. To freeze just the sponge cake, wrap the cake layers in plastic wrap or place them in an airtight container before freezing. Defrost thoroughly before decorating.
The frosted cake can also be frozen in the same way. If you are worried about disrupting and squashing the frosting on the cake when you cover it in plastic wrap, simply freeze the cake uncovered for an hour to firm up the buttercream and then wrap it in plastic wrap. When you defrost the cake, remove it from the freezer and remove the clingfilm so that it doesn’t stick to the frosting as it thaws.

Frosting & Decorating This Layered Naked Coffee Cake
I love making naked cakes, so I thought I would go for the naked cake look for this scrumptious Moist Layered Coffee Cake. Naked cakes are so easy to make (check out my naked gingerbread cake) and always look beautiful and elegant with very minimal effort.
To create a naked cake, follow these simple steps:
- Stack the cake layers with a generous layer of buttercream in between.
- Add more buttercream around the outside of the cake using an off-set spatula.
- Then scrape off excess buttercream to "undress" the cake and expose some of the cake through the frosting layer.
I usually love topping my naked cakes with fresh flowers but for this easy coffee cake, I simply piped a few blobs of extra buttercream on the top. You could also add some chards of chocolate bark on the top or even some sprinkles (check out my chocolate sprinkle cake for sprinkle inspiration).

Equipment You Will Need For Frosting
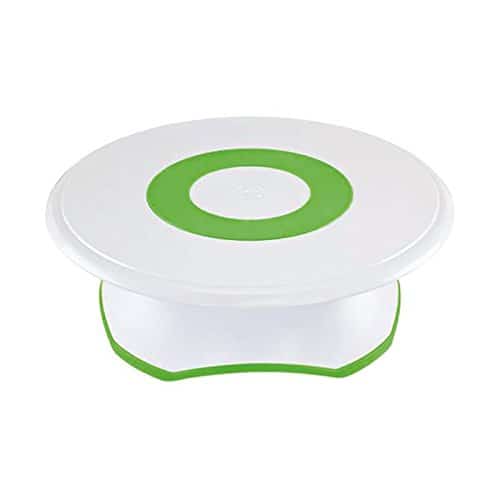
You can decorate a naked cake with an offset spatula or even a palette knife but to make things a little easier I have linked a few of my favorite cake-decorating tools below. I use most of these tools almost every day and they make life so much easier.
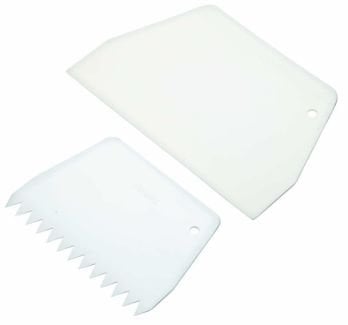
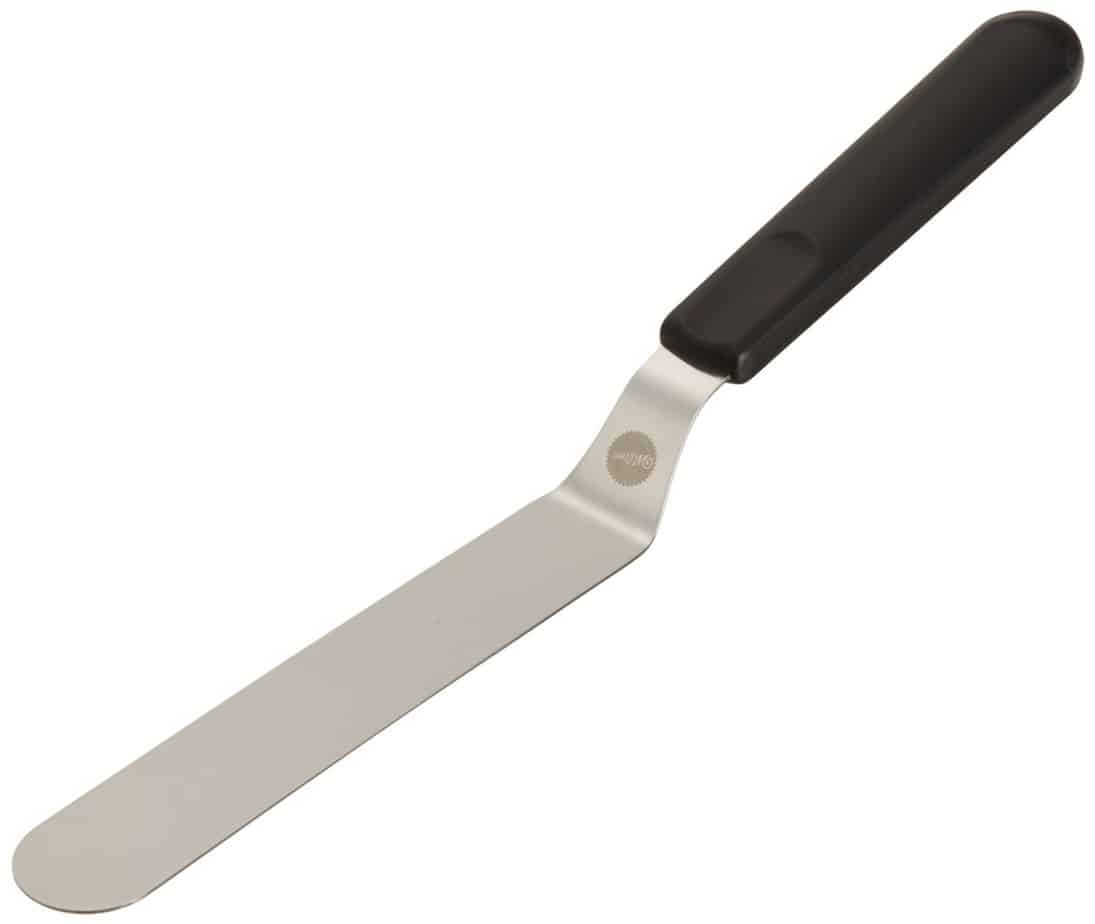
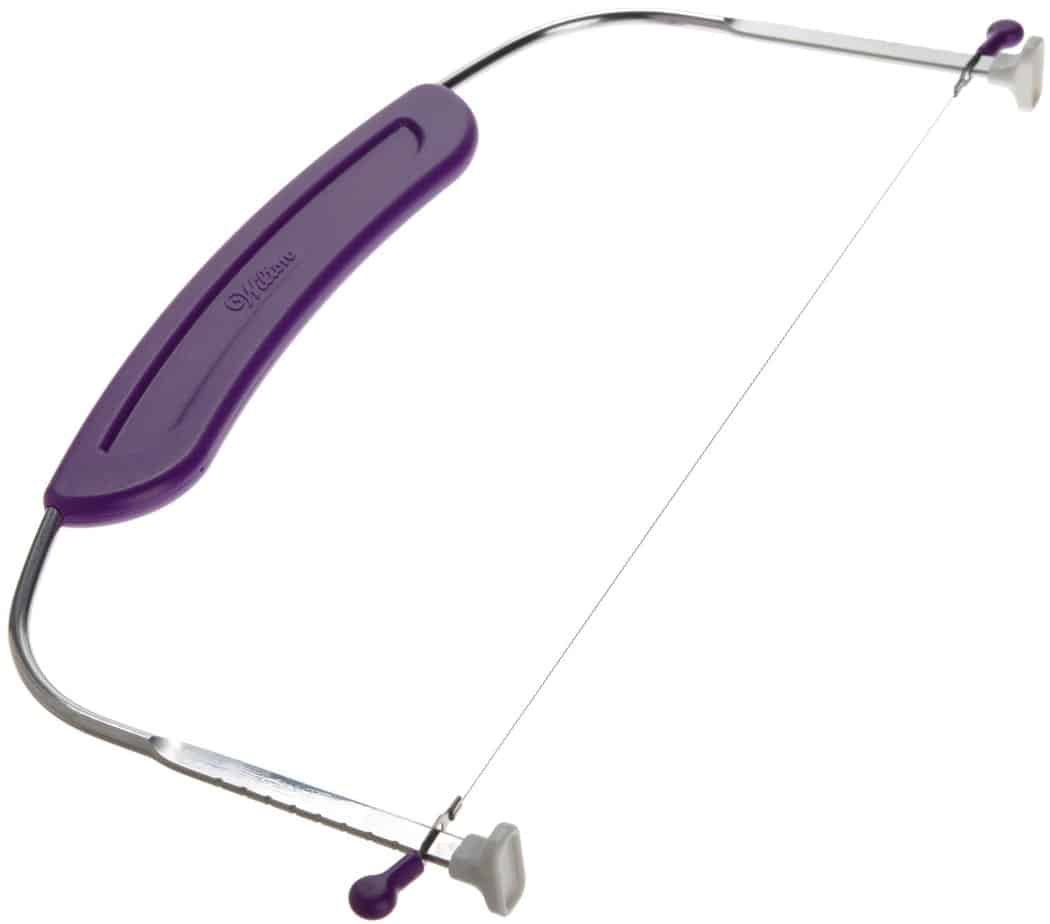
For this Moist Layered Coffee Cake, I used a cake leveler, this helps to ensure all your cake layers are the same height by cutting off the "heads" of the cakes. I also used a standard spatula, an offset spatula, and my favorite thing on the planet, which is a cake scraper. A cake scraper helps achieve that smooth finish that we all desire!
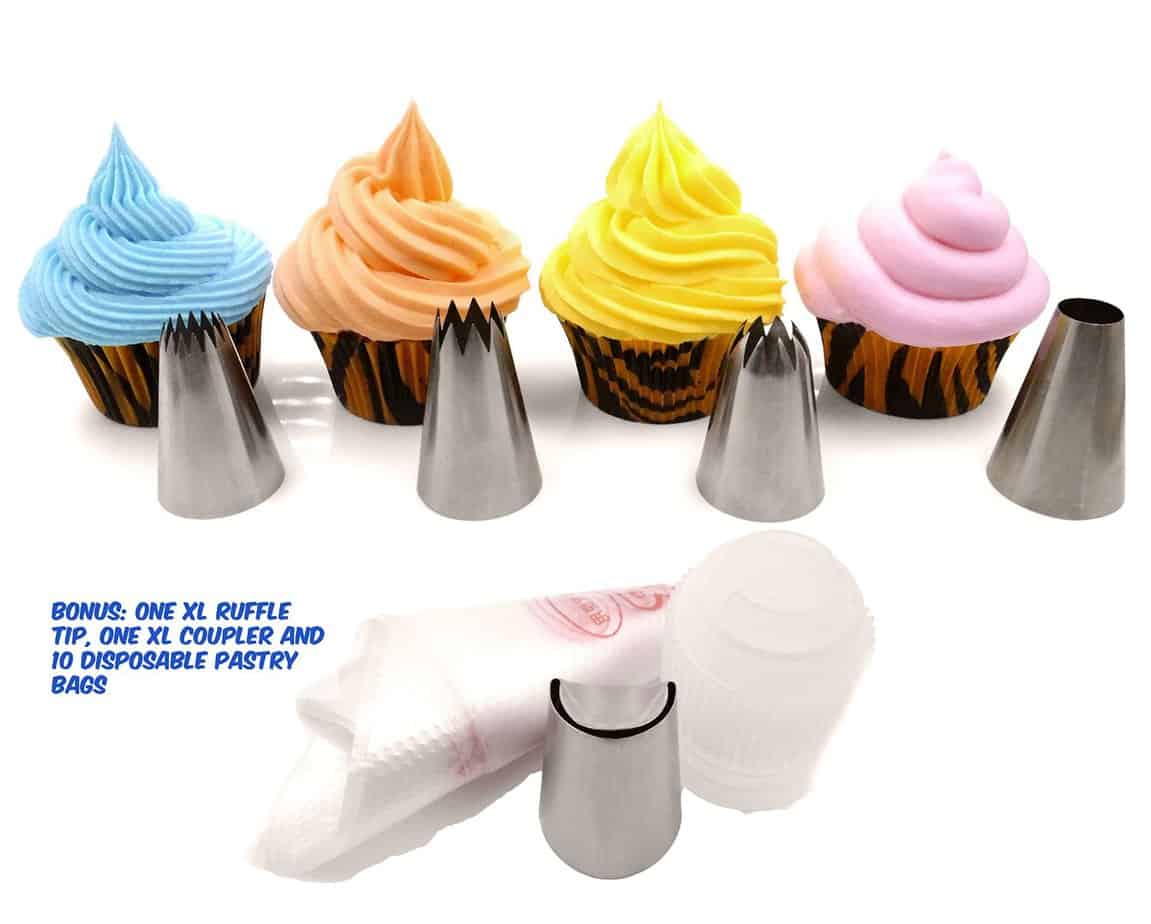
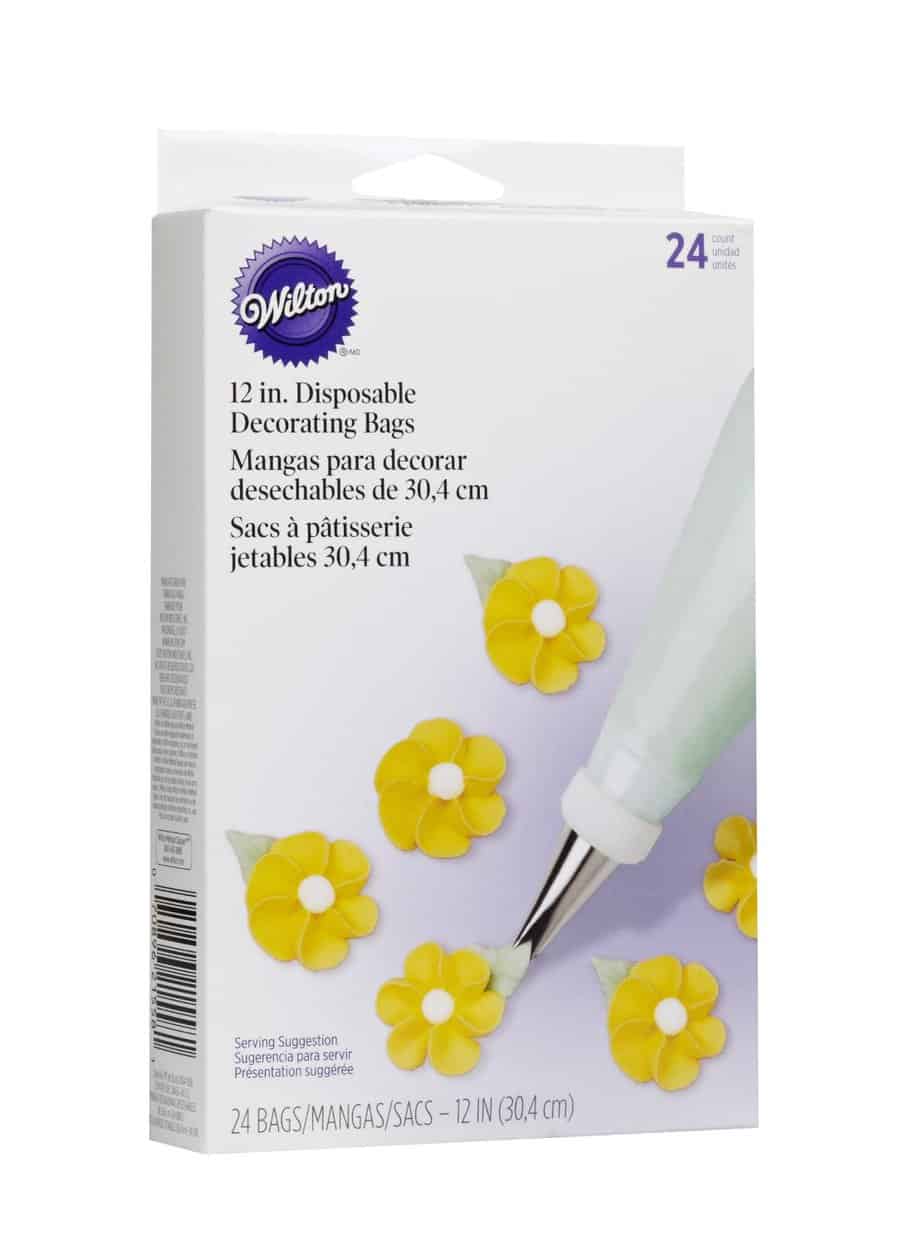
Best Tools For Cake Decorating:
 |  |  |
 |  |  |

More Recipes For Coffee Lovers:

I hope you love this Moist Layered Coffee Cake recipe as much as I do. Follow me on INSTAGRAM, PINTEREST, or FACEBOOK for even more delicious recipes!
Moist Layered Coffee Cake
A Moist Layered Coffee Cake recipe that is easy to make and has a delicious, rich espresso flavor. A three-layered naked coffee cake topped with a creamy coffee Italian meringue buttercream.
Ingredients
For the Cake:
- 3 ½ Cups All-Purpose Flour
- 2 ½ teaspoon Baking Powder
- ¾ teaspoon Baking Soda
- ½ Cup Vegetable or Canola Oil
- 1 Cup Brown/Demerara Sugar
- 1 Cup Granulated Sugar
- 2 Eggs
- 1 Egg Yolk
- 3 teaspoon Vanilla Extract
- 1 ½ Cups Milk
- 2 Shots Espresso or 1 Cup Strong Coffee
For The Coffee Italian Meringue Buttercream:
- 200g Granulated Sugar
- 1 Shot Espresso
- 135g Egg White
- 40ml Water
- 350g Butter, cold & cubed
Instructions
For the Coffee Cake:
- Prepare. Preheat your oven to 180ºC/350ºF and line three 8-inch cake tins with baking paper.
- Cream. In a large mixing bowl, use an electric mixer to cream the oil, sugar, and vanilla together until light and fluffy, about 3 minutes.
- Add the eggs. Once light and fluffy, add the eggs and egg yolk and continue to beat the mixture for a few minutes.
- Prepare dry ingredients. Then in a separate bowl, sift together the remaining dry ingredients.
- Combine. Add these dry ingredients to the egg mixture, alternating with the milk. Mix until just combined. You don't want to overmix this batter!
- Add the espresso. Add the warm espresso shots to the mixture and mix until just combined.
- Bake. Divide the batter between the 3 prepared cake tins and bake for 25 minutes.
- Cool. Remove the cakes from the oven and allow them to cool for 5 minutes before removing them from the tin and allow them to reach room temperature before frosting.
For the Coffee Italian Meringue Buttercream:
- Place your espresso shot in the fridge to allow it to cool slightly.
- In a saucepan, bring the 150g of sugar, and the water to a simmer.
- Allow to simmer until it reaches the soft-ball stage (about 110ºC).
- Meanwhile, beat the egg whites with the remaining sugar until stiff peaks.
- Once the sugar reaches the soft-ball stage, pour the sugar mixture into the egg white mixture while beating on high speed. Make sure you pour the syrup in a slow steady stream.
- Continue to whip the mixture at high speed until the bowl has cooled down slightly.
- Then add the butter blocks to the mixture, one block at a time.
- Continue to mix until you have a delicious creamy buttercream.
- Then slowly pour in the cooled espresso shot and whip until well combined.
- Assembling the Cake (see video):
- Cut off the tops of each layer using a cake leveler or knife to ensure all layers are even.
- Place a little buttercream on the bottom layer and spread until evenly distributed.
- Place the next layer on top of the buttercream and repeat step 1.
- Place the last layer and then top with remaining buttercream.
- Spread the buttercream around the top and then down the sides.
- Using an offset spatula to smooth the buttercream around the entire cake.
- Then use a cake scraper to smooth the cake as well as to remove all the excess buttercream.
- Lastly, pipe a few "blobs" on top of the cake or top with fresh flowers.
Notes
How To Store Coffee Cake?
This moist coffee cake can be stored in an airtight container in a fridge for 4 - 5 days. Allow the cake to reach room temperature before eating because it will have a better flavor at room temperature and the buttercream will be a perfect consistency.
This cake is suitable for freezing, frosted or unfrosted. To freeze just the sponge cake, wrap the cake layers in plastic wrap or place them in an airtight container before freezing. Defrost thoroughly before decorating.
The frosted cake can also be frozen in the same way. If you are worried about disrupting and squashing the frosting on the cake when you cover it in plastic wrap, simply freeze the cake uncovered for an hour to firm up the buttercream and then wrap it in plastic wrap. When you defrost the cake, remove it from the freezer and remove the clingfilm so that it doesn’t stick to the frosting as it thaws.

Recipe adapted from Tessa Huff

Patricia Smith says
Please post this in Grams for those of us that prefer using a kitchen scale for baking