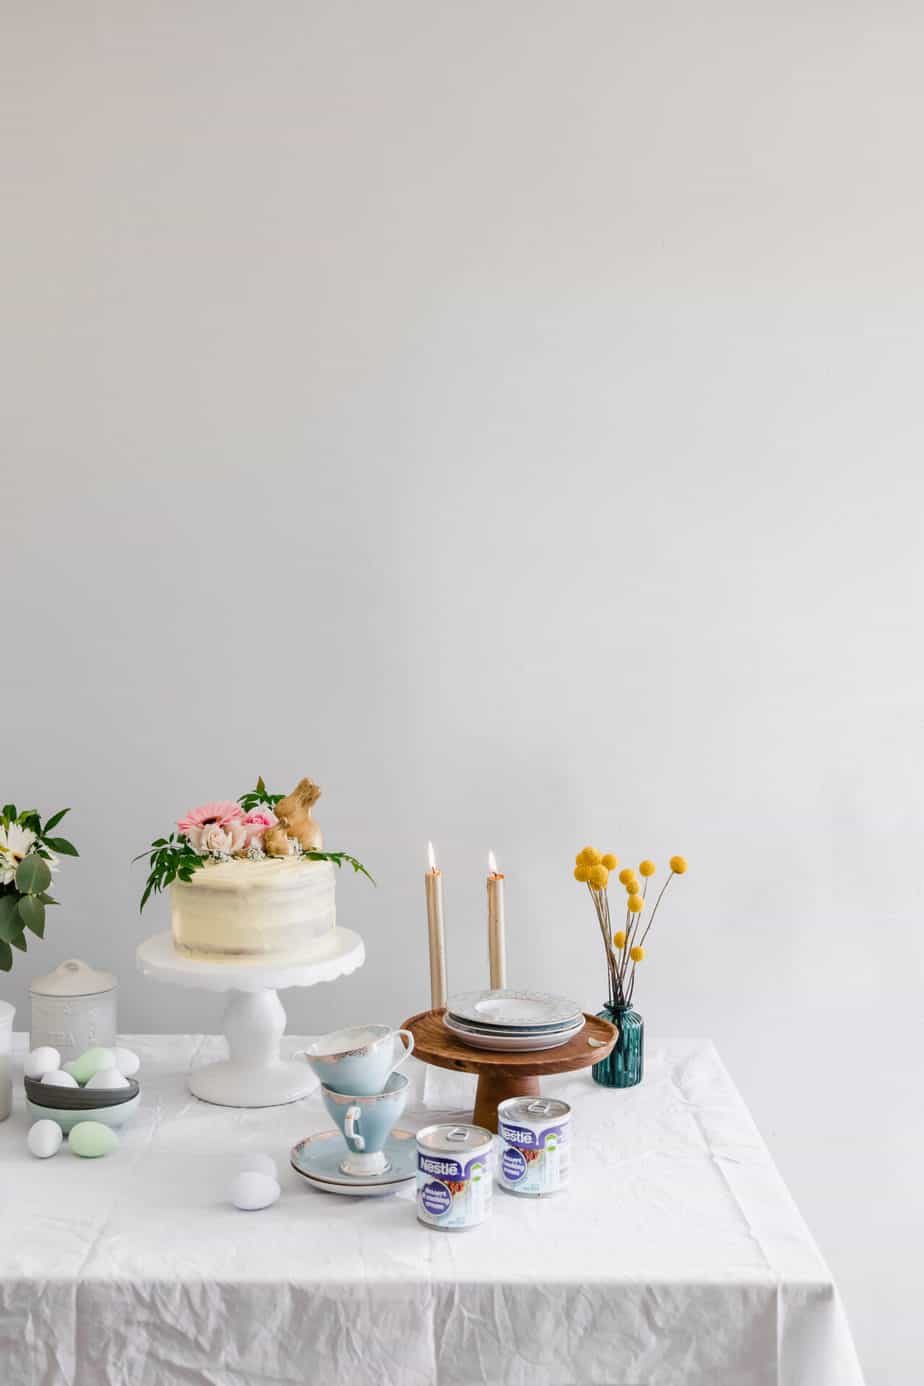
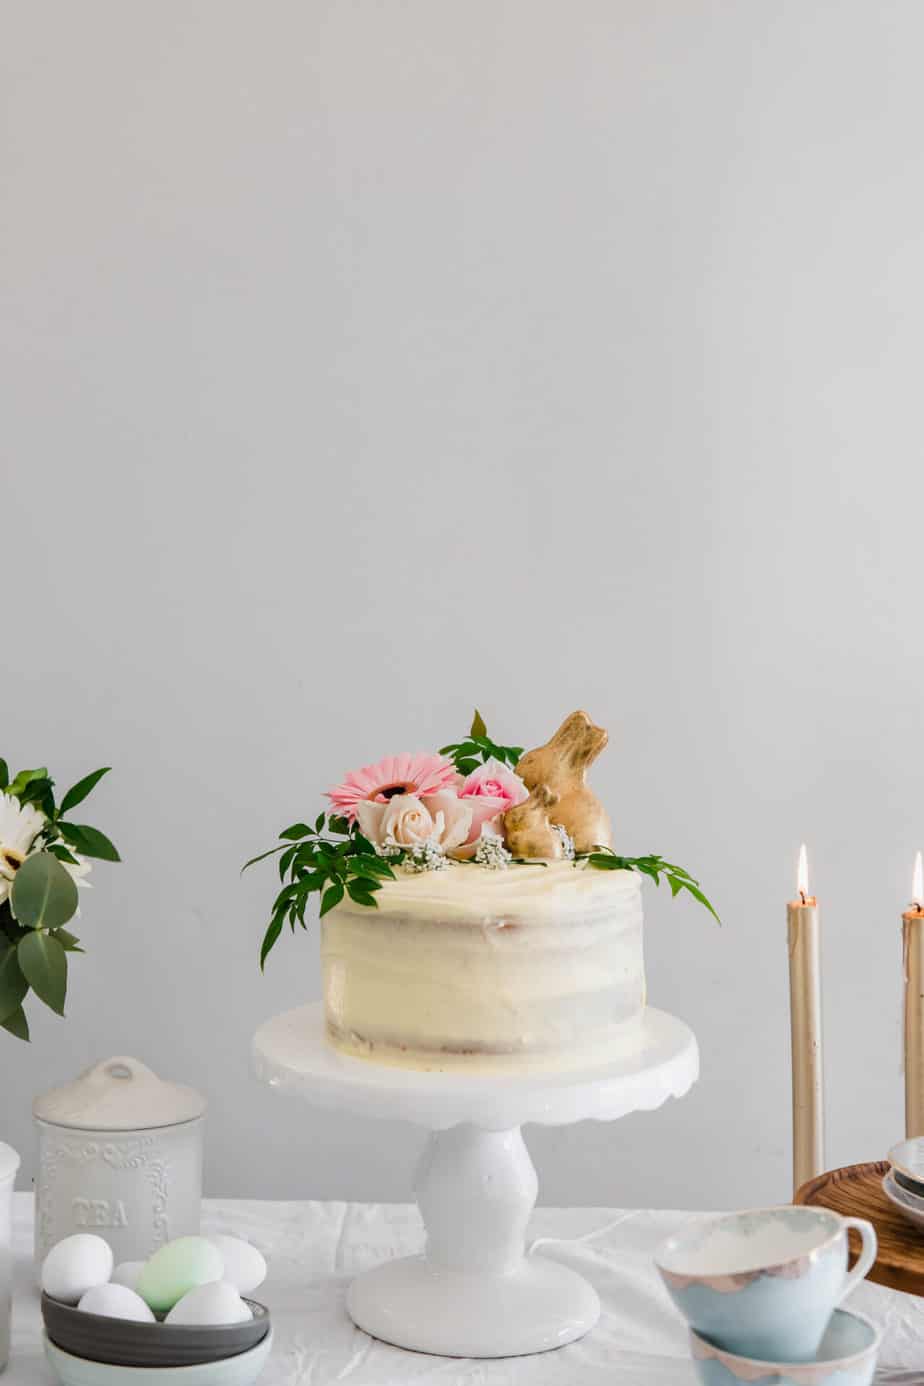
This easy Lemon Easter Cake with Zesty Cream Cheese Frosting is the perfect dessert to serve this Easter. Made with lots of fresh lemons and decorated with fresh flowers and Easter bunnies - it is both delicious and oh-so-pretty!

Everyone will love this moist and zesty lemon cake recipe with its dreamy lemon cream cheese frosting that I made in partnership with Nestle'. It is such a crowd-pleaser and always has everyone coming back for seconds. The best part is it is such an easy recipe to make from scratch and decorating it is so much fun!
Looking for more delicious Easter recipes? Try out our HOT CROSS BUNDT CAKES!
Tips For Making This Layered Lemon Cake Recipe
- Accurately measure your flour! The best and easiest way to measure flour is by using a scale. But if you don’t have a scale then fluff your flour with a fork, add it to your measuring cup, and use a knife to level it off.
- Adding a layer of lemon curd to this cake can be a yummy addition. You can use my lemon curd recipe here and be sure to chill the cake as you add the lemon curd to the layers.
- Make sure all the butter and cream cheese is at room temperature to ensure the best end results.
- Once the cake is frosted, keep it in the fridge to keep it set and remove it 45 minutes before serving for the perfect eating temperature.
Another delicious layered cake recipe to try out is our BROWN BUTTER CAKE WITH BERRIES AND CINNAMON HONEY!
How Can You Store Lemon Cake
You can store these cake layers overnight at room temperature in a covered container. If you are making it further in advance, keep the cake airtight and refrigerated. You can also make these cake layers in advance and freeze them - just make sure they are well-wrapped. When you need them, defrost the frozen cake layers at room temperature and assemble the cake.
How To Make This Lemon Cake From Scratch
For The Lemon Cake:
- Start off by preheating your oven to 180C and grease three cake tins well and line their bottoms with baking paper.
- In a mixing bowl, whisk together the eggs, egg yolks, vanilla essence, Nestle's Dessert Cream, lemon juice, and yogurt.
- Then in a separate bowl, combine the flour, sugar, salt, and baking powder.
- Once combined, add the cubed butter one cube at a time while mixing with a mixer on low speed until it is all fully incorporated and the mixture resembles sand.
- Add the wet ingredients to this butter mixture and mix until just combined.
- Divide the cake batter between the three prepared cake tins. You can weigh the batter out to ensure accuracy!
- Bake for 40 - 45 minutes, or until cooked through and springy to the touch.
For the Zesty Cream Cheese Frosting:
- In a mixing bowl, beat the cream cheese and butter together until soft and fluffy (should take about 3 minutes).
- Add the remaining frosting ingredients and mix together until smooth and well combined.
Assembling The Cake
- Using a serrated knife, trim the tops off the cake layers to create a flat surface.
- Place the first cake layer on a cake stand or plate and spread with a layer of frosting.
- Repeat this process with the remaining cake layers.
- Add a layer of frosting on the outside of the cake and use a spatula to even it out to your desired thickness.
- Place the cake in the fridge to chill and remove 30 minutes before serving.
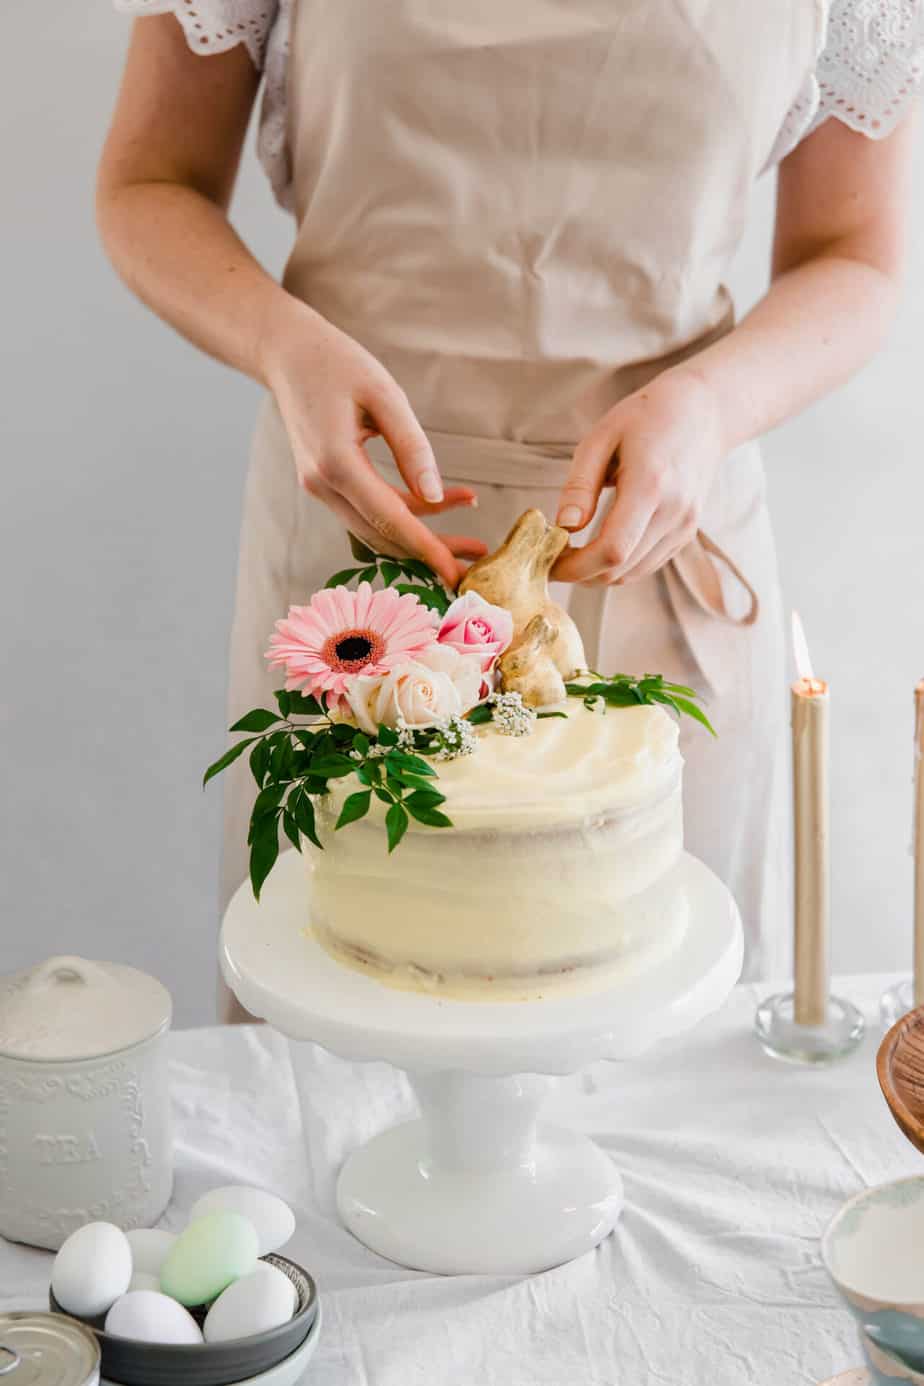
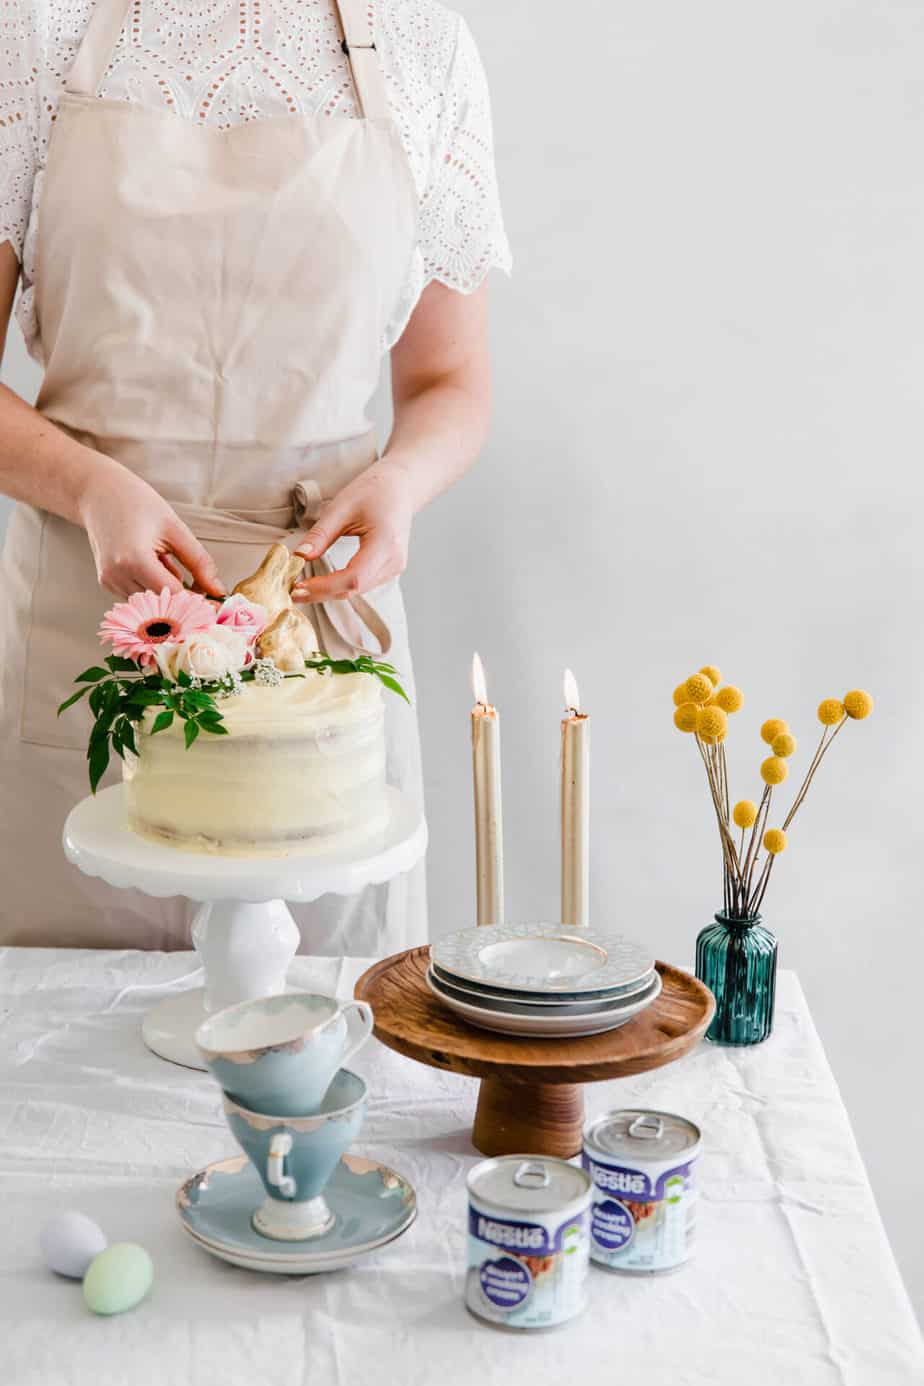
- Have fun and decorate the cake with fresh flowers and Easter bunnies.
Other Cake Recipes You May Like:
If you give this Lemon Easter Cake with Zesty Cream Cheese Frosting a try, let me know what you think of it over on my Instagram. I'd love to hear your thoughts! :)
Recipe

Lemon Easter Cake
Equipment
- 1 electric mixer
- 3 cake tins
Ingredients
Lemon Cake
- 4 large eggs
- 2 Egg Yolks
- 1 tablespoon Vanilla Extract
- 200 grams Nestlé Dessert & Cooking Cream
- 130 grams Lemon Juice
- 120 grams Yogurt
- 600 grams All-Purpose Flour
- 450 grams sugar
- 3 teaspoon Baking Powder
- 1 pinch Salt
- 345 grams butter cubed and room temperature
Zesty Cream Cheese Frosting
- 230 grams cream cheese softened
- ½ cup butter room temperature
- 2 ¾ cup Powdered Sugar
- 2 tablespoon Lemon Juice
- 1 tablespoon lemon zest
- 1 tablespoon Vanilla Extract
Instructions
Lemon Cake
- Preheat oven to 180C and grease three cake tins and line bottoms with baking paper.
- In a mixing bowl, whisk together the eggs, egg yolks, vanilla essence, Nestlé Dessert & Cooking Cream, lemon juice, and yoghurt.
- In a separate bowl, combine the flour, sugar, salt, and baking powder.
- Add the butter in cubes while mixing with a mixer on low until it is all fully incorporated and the mixture resembles sand.
- Add the wet ingredients and mix until just combined.
- Divide the cake batter between the three prepared cake tins.
- Bake for 40 - 45 minutes, or until cooked through and springy to touch.
Zesty Cream Cheese Frosting
- In a mixing bowl, beat the cream cheese and butter together until soft and fluffy (about 3 minutes).
- Add the remaining frosting ingredients and mix together until smooth and well combined.
Assembling The Cake
- Using a serrated knife, trim the tops off the cake layers to create a flat surface.
- Place the first cake layer on a cake stand or plate and spread with a layer of frosting.
- Repeat this process with the remaining cake layers.
- Add a layer of frosting on the outside of the cake and use a spatula to even it out to your desired thickness.
- Place the cake in the fridge to chill and remove 30 minutes before serving.
- Decorate the cake with fresh flowers and Easter bunnies and enjoy!
Notes
- Accurately measure your flour! The best and easiest way to measure flour is by using a scale. But if you don’t have a scale then fluff your flour with a fork, add it to your measuring cup, and use a knife to level it off.
- Adding a layer of lemon curd to this cake can be a yummy addition. You can use my lemon curd recipe here and be sure to chill the cake as you add the lemon curd to the layers.
- Make sure all the butter and cream cheese is at room temperature to ensure the best end results.
- Once the cake is frosted, keep it in the fridge to keep it set and remove it 45 minutes before serving for the perfect eating temperature.
Leave a Comment